In my last post, I mentioned that I hadn't made a model of one of my dogs, so I finally got it finished a couple weeks ago. Isn't he cute?
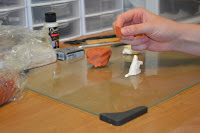
I know everyone has their strengths, but I really do think working with polymer clay is much easier than most people think. I am going to show you step by step how I made the little cutie.First step, of course, is to collect everything you will need and get it set up. The clay will stick to your hands, especially since once it gets warm from being worked, so you don't want to track it all over the house looking for something you forgot. Once you have your supplies, start kneading an working the clay in your hands to soften it. Work with lighter colors first if you do not want to mix colors. Darker colors, like the Terracotta I used here, will stick to your hands and mix with whatever your lighter colors. I didn't mind the slight mixing because his white is not very pure.
Once your clay is ready, start to form the base shape with the most common color, or a color you don't mind covering up. I used the white because his belly, chest and legs are white and it lessened the amount of work that would be needed to color his tiny belly.
Next, I layered some of the Terracotta over the white to start adding in his red fur. I made the layer thin so that when I add the detail I could scratch through some of the white.
Connor has a bit of a beard under his chin, so I added an extra piece of white so that I could show how puffy he gets.
Ears are next. To create them, I pinched and molded the clay on the top of the head until they were little triangles, with the bases slightly curved.

Next, I put indents where his eyes are and started blending some of the Terracotta and white together.
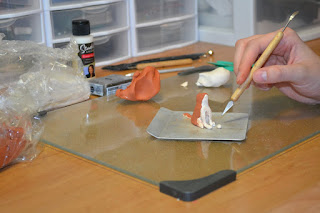
After that, I worked from the bottom up, scratching "fur" into the clay.
Once all the fur and eyes were done, I flipped the tail up and created the fur on the bottom of the tail.
Here is the finished product before baking.
Because he is so thick, I baked him at 275 degrees for 30 mins. The clay I used recommends 15 minutes for each 1/4 in thickness. After he was finished, I brushed the extra pieces off of the model and placed him on the shelf next to the model of our other dog, Buddy. ( and with the grumpy old fisherman I made for my husband).


