Pages

Showing posts with label quilting. Show all posts

Thursday, February 23, 2012

My First Quilt : Layering, Quilting and Binding


The layering, quilting and binding are what I considered (and still do, since I think I cheated) to be the most daunting part of the quilt.

Lay the backing down on a flat surface, making sure it is secure. Next lay the batting over top of it, smoothing everything as you go. Over top of both layers, lay the quilt top down next. Smooth everything out, and trim the backing and batting, with a couple inches of scrap just in case. Quilt the layers together. I decided to knot each corner with embroidery floss of matching colors. The directions suggested sewing an X through each square and a V through the halves. Once all of the layers are secured together, trim the excess of the backing and batting even with the top.
I also sewed line around the outside of the inner border to create a little pop as well as secure the layers a bit more than the knots could.

The instructions for the binding confused me for a while. First you had to sew the strips created from the 18"x42" rectangle together into a single long strip. Once that was done, press the seams open, then fold the entire strip in half and iron again. The instructions only stated "with raw edges aligned, place binding onto the front side of the quilt, pin and sew through all layers, fold binding to backside of quilt and blindstitch with matching thread". Most of my sewing lessons were Jr High Home Ec, watching my mom, or figuring it out myself, so that didn't mean a whole lot at first. After watching some YouTube videos, I finally figured it out.
The video is the one I found on YouTube that finally helped me figure out what I was doing with the binding.
Attach the binding by sewing along the edge to about 1/4" to the corner. Backstitch and remove the project from the machine. Fold the binding 45 degrees in the opposite direction you are about to turn, then fold it back.
Place the binding back under the foot and begin sewing along the new edge. once finished, fold the binding back over the seam and fold around the back.
Make sure the corners are nicely mitered on the back and sew the binding to the back. making them invisible is preferred.

My impatience may have gotten the better of me though... I didn't realize until I was done attaching the binding to the front that the instructions all wanted me to handstitch the binding to the back, to hide the stitches. I tried it for about an hour, and barely finished the top. I decided that the binding would look just fine if I sewed it with a border to the machine. I like the extra design it gave my quilt.
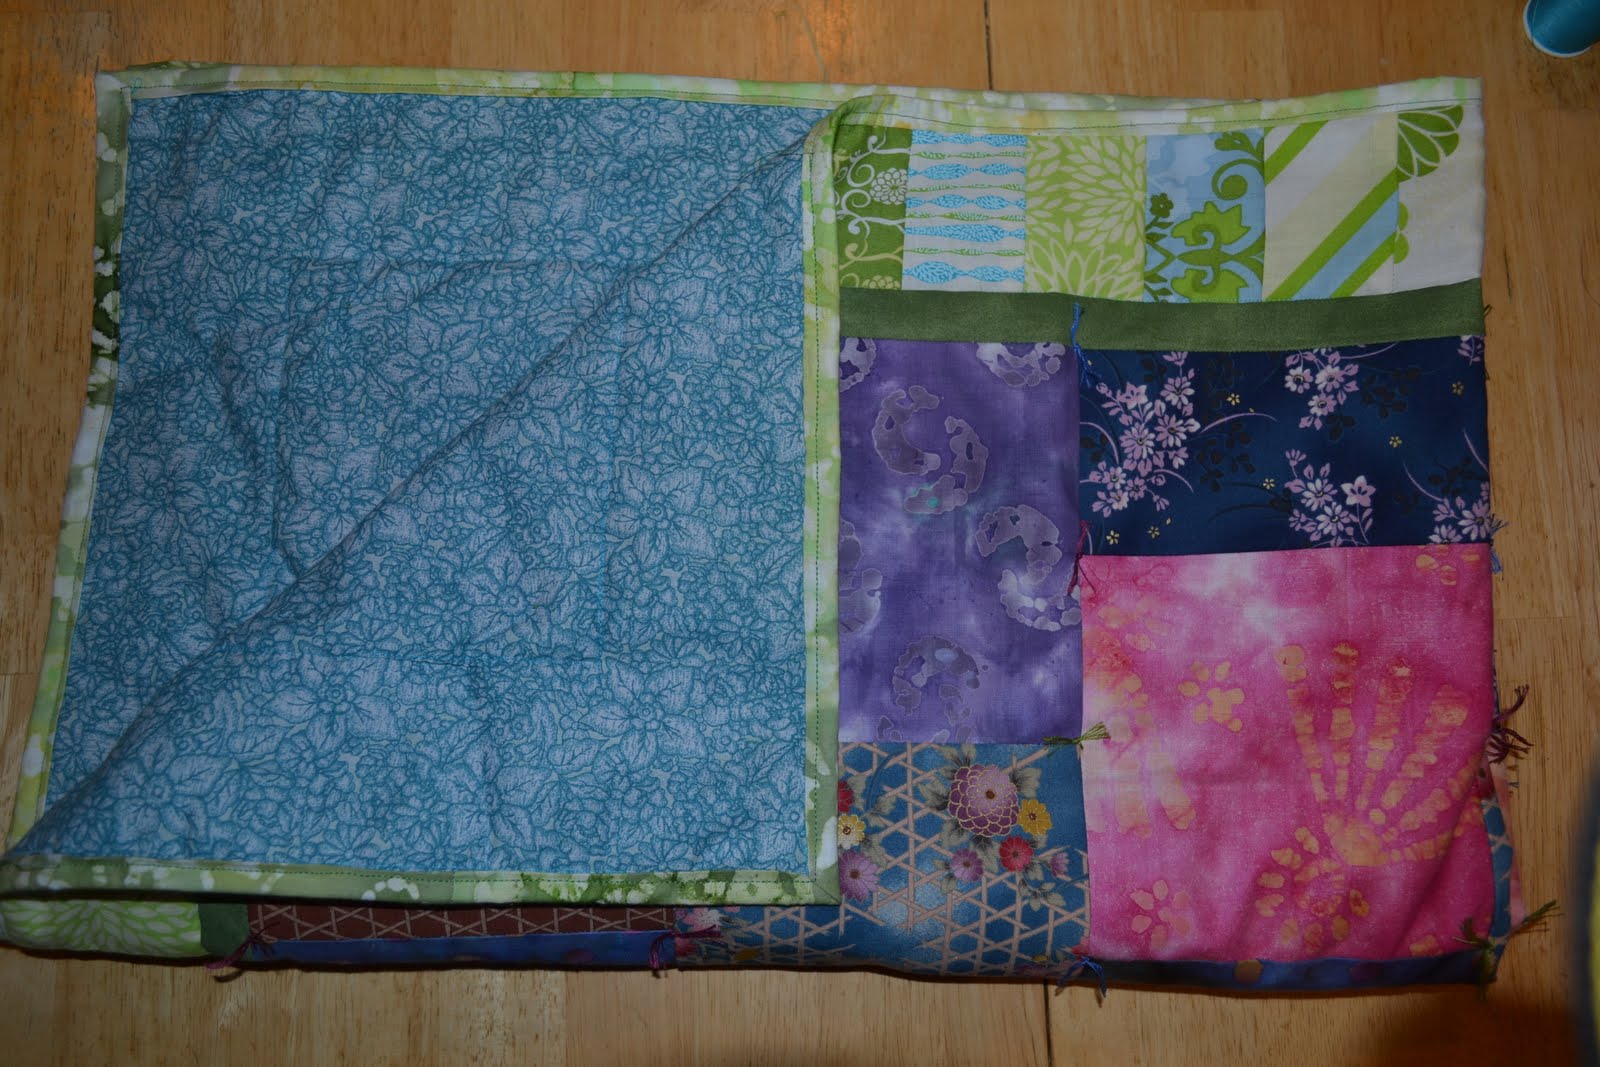


All in all, I learned the basics of quilting. I also realized I need to sew straighter lines, as mine pretty much suck. The seam ripper is definitely your friend while sewing. I want to learn to quilt so that I can turn my mom's old t-shirts into 3 quilts for my sisters and me. I think now I am not near as afraid to start working on them, at least first on my own quilt so that my sisters' quilts will be even better.

Monday, February 20, 2012

My First Quilt : Inner and Outer Borders

To add the borders, I sewed the green strips together for the inner border. First I sewed 2 strips plus a half for each side, and 2 strips for the top and bottom. Press the seams open. once this is done, sew the longer strips to each side and cut to the length of center panel. Press these seams towards the borders. Sew the shorter strips to the top and bottom, to the edges of the side borders. Also press these seams towards the borders.
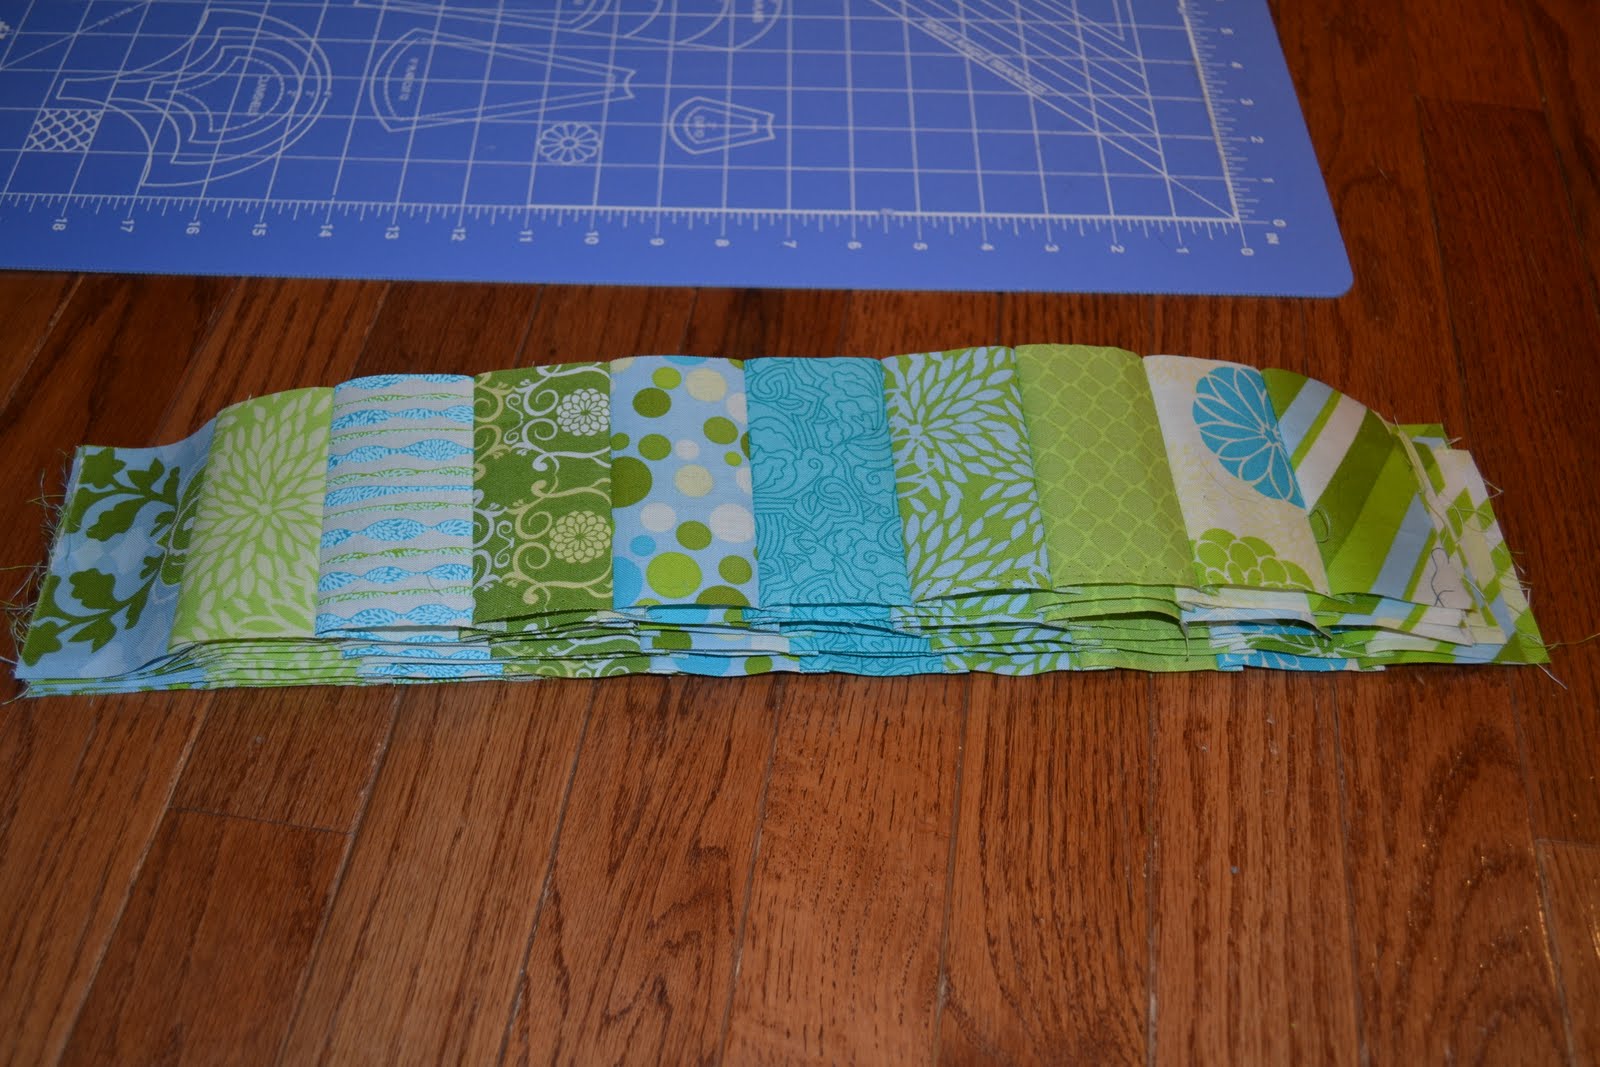
 The outside pattern (piano key pattern) is created with 10 strips of fabric from the jelly roll. Iron them out and then sew them together lengthwise. Press the seams in the same direction. Once you create the piece, it should be 20"x42". Mine turned out shorter, even though my seams were no deeper than they should have been, so I needed to cut an extra strip. The instructions advised ten strips, 3.5in wide, each one including a piece of each sewn strip.
Connect three of the piano key pieces for the sides, and 2 (and a half if you had shorter strips like me) Create the half by using a seam ripper.

Sew the strips onto the sides first, cut them to length, then sew the tops onto the quilt. Cut them to length, including the side piano keys. Trim the entire top so that all of the sides are even, if needed.

See my next post on how to add the backing, batting and bindings...

Friday, February 17, 2012

My First Quilt : Purchasing to the Quilt Center

I bribed my husband to go with me to AC Moore last Friday evening, since I had seen some quilting kits and thought their selection would make my first attempt somewhat easier. They changed their selection slightly since I was last there. It looked like some of the pre-packaged kits were gone, replaced with project booklets that told you to pick whatever designs out of certain bundles. I ended up picking a simple looking block pattern from Fabric Palette. It told me to choose two 5-piece bundles, a jelly roll and a large 18"x42" rectangle. Instead of the suggested backing, I picked a "Baby bolt" of fabric so that I didn't have piece work on the back.

After unrolling and unfolding everything, it was time to iron, definitely one of my least favorite tasks. Unfortunately you have to iron EVERY seam so I got a lot of practice this weekend.


Once the fabric was ironed, I cut six 6.5 in squares out of nine of the ten pieces from the 5-piece bundles (51 + 3 extra squares). The tenth piece was cut into nine 1.5 in strips for the inner border. One of the strips was cut in half.


From the 18"x42" rectangle, I cut six 2.5in down the length of the fabric.


Next I laid the squares out on the floor to decide how they should be laid out. I tried to make sure none of the same patches were touching each other, but I think I may of missed some. Even after laying them out, I shifted a couple while I was sewing because I thought they were too close to each other. I also laid out the inside border just to get an idea.


Now the fun began... I dusted off my sewing machine and picked out matching thread, filled a bobbin, and off I went... Make sure to keep the faces together while sewing.


Once each row was sewn together, I measured the last blocks on the longer rows, and cut off 3inches from each. Next I laid them out again just to be sure, and ironed all of the seams in alternating directions. Next, sew all of the rows together, faces together. Iron the seams in alternating directions.


See my next post about how to add the Inner and Outer Borders...