
I bribed my husband to go with me to AC Moore last Friday evening, since I had seen some quilting kits and thought their selection would make my first attempt somewhat easier. They changed their selection slightly since I was last there. It looked like some of the pre-packaged kits were gone, replaced with project booklets that told you to pick whatever designs out of certain bundles. I ended up picking a simple looking block pattern from Fabric Palette. It told me to choose two 5-piece bundles, a jelly roll and a large 18"x42" rectangle. Instead of the suggested backing, I picked a "Baby bolt" of fabric so that I didn't have piece work on the back.


After unrolling and unfolding everything, it was time to iron, definitely one of my least favorite tasks. Unfortunately you have to iron EVERY seam so I got a lot of practice this weekend.

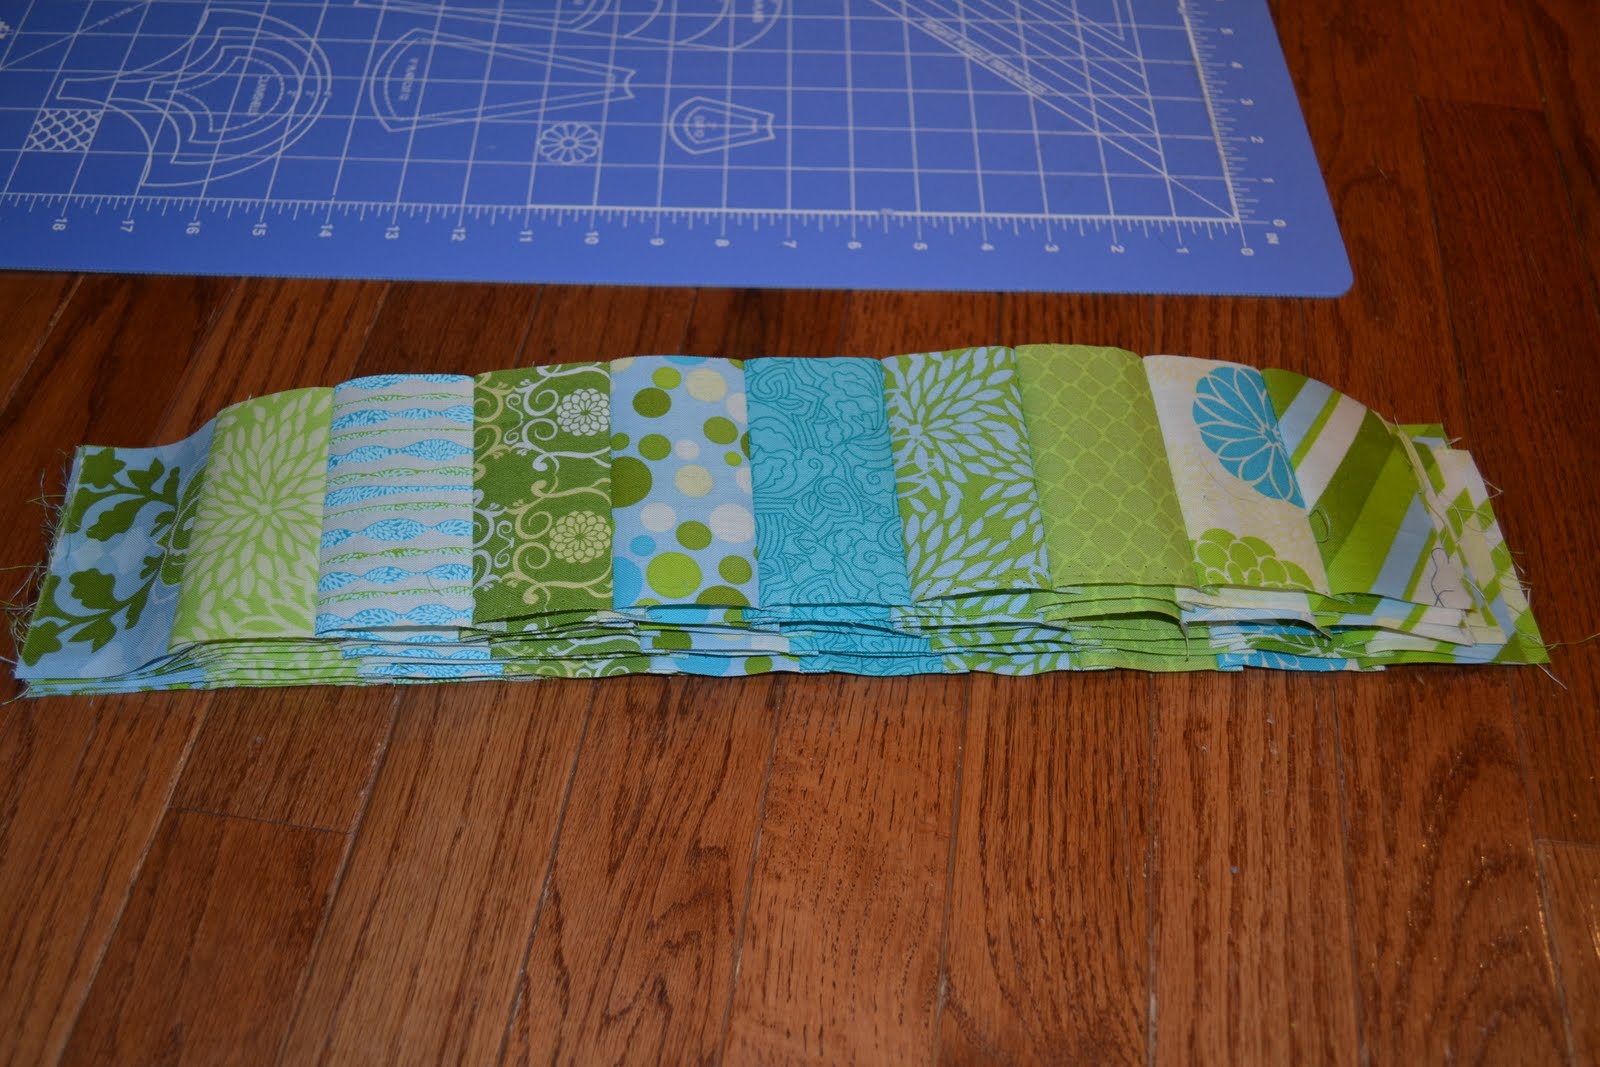
Once the fabric was ironed, I cut six 6.5 in squares out of nine of the ten pieces from the 5-piece bundles (51 + 3 extra squares). The tenth piece was cut into nine 1.5 in strips for the inner border. One of the strips was cut in half.

From the 18"x42" rectangle, I cut six 2.5in down the length of the fabric.
Next I laid the squares out on the floor to decide how they should be laid out. I tried to make sure none of the same patches were touching each other, but I think I may of missed some. Even after laying them out, I shifted a couple while I was sewing because I thought they were too close to each other. I also laid out the inside border just to get an idea.
Now the fun began... I dusted off my sewing machine and picked out matching thread, filled a bobbin, and off I went... Make sure to keep the faces together while sewing.
Once each row was sewn together, I measured the last blocks on the longer rows, and cut off 3inches from each. Next I laid them out again just to be sure, and ironed all of the seams in alternating directions. Next, sew all of the rows together, faces together. Iron the seams in alternating directions.
See my next post about how to add the Inner and Outer Borders...


 Connect three of the piano key pieces for the sides, and 2 (and a half if you had shorter strips like me) Create the half by using a seam ripper.


