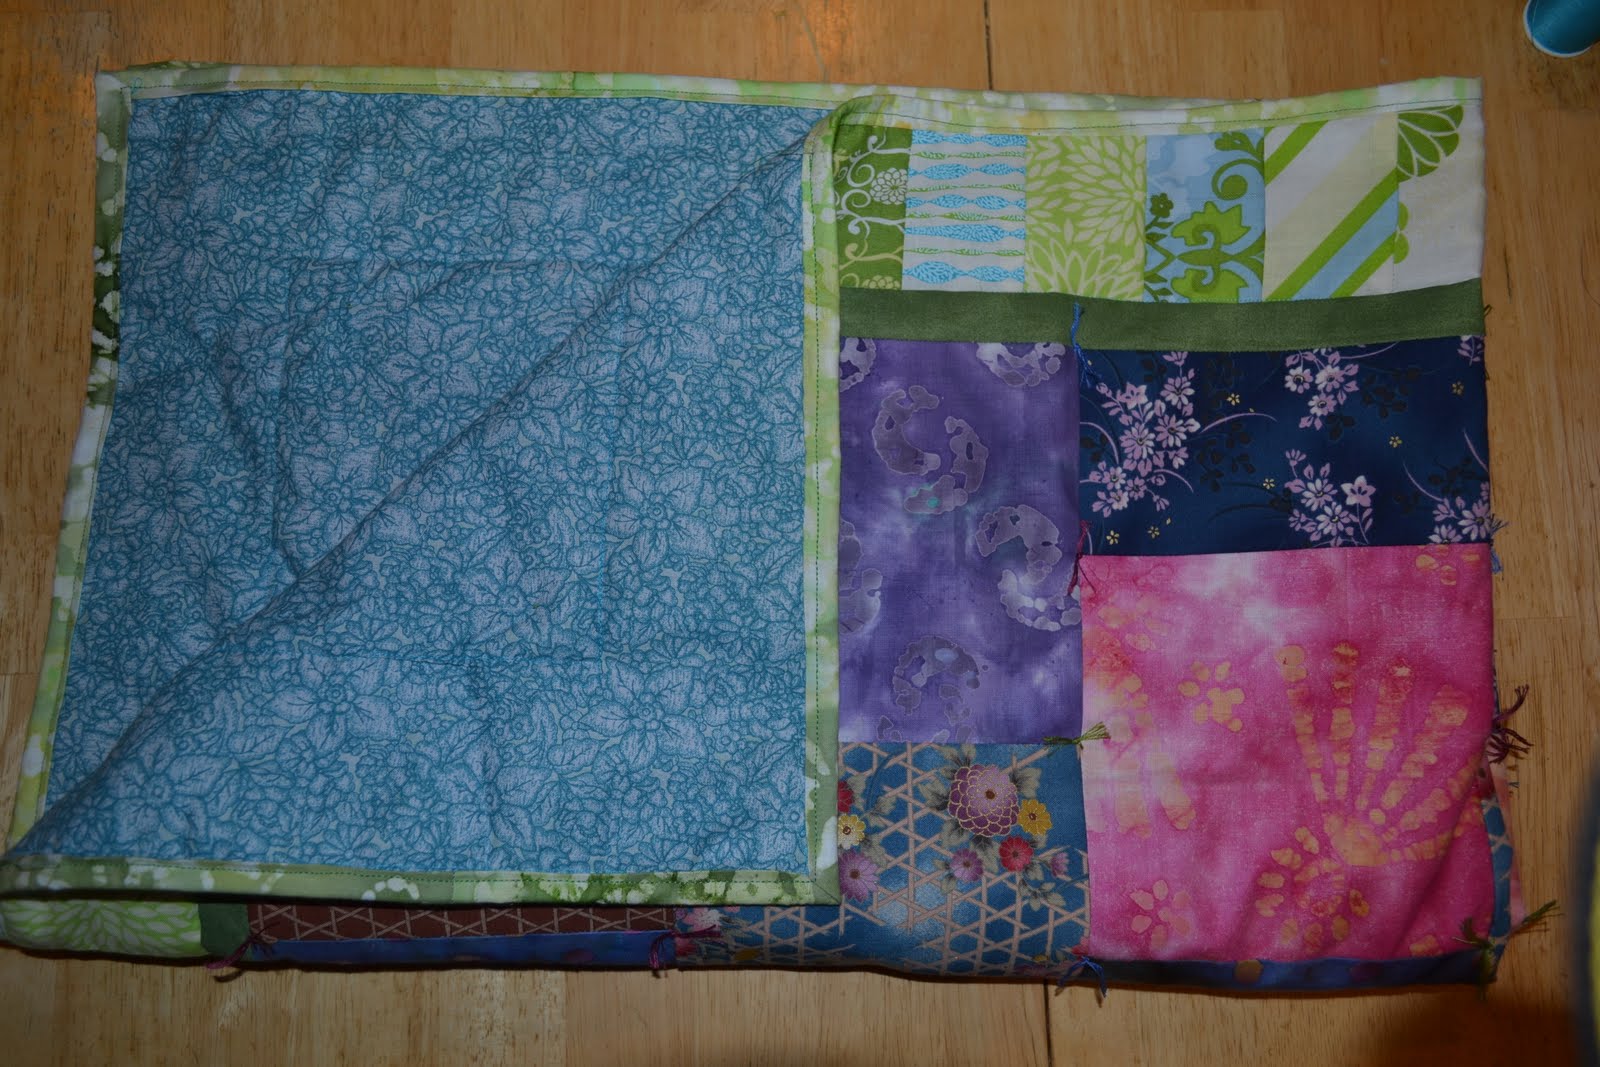
The layering, quilting and binding are what I considered (and still do, since I think I cheated) to be the most daunting part of the quilt.
Lay the backing down on a flat surface, making sure it is secure. Next lay the batting over top of it, smoothing everything as you go. Over top of both layers, lay the quilt top down next. Smooth everything out, and trim the backing and batting, with a couple inches of scrap just in case. Quilt the layers together. I decided to knot each corner with embroidery floss of matching colors. The directions suggested sewing an X through each square and a V through the halves. Once all of the layers are secured together, trim the excess of the backing and batting even with the top.


The instructions for the binding confused me for a while. First you had to sew the strips created from the 18"x42" rectangle together into a single long strip. Once that was done, press the seams open, then fold the entire strip in half and iron again. The instructions only stated "with raw edges aligned, place binding onto the front side of the quilt, pin and sew through all layers, fold binding to backside of quilt and blindstitch with matching thread". Most of my sewing lessons were Jr High Home Ec, watching my mom, or figuring it out myself, so that didn't mean a whole lot at first. After watching some YouTube videos, I finally figured it out.
The video is the one I found on YouTube that finally helped me figure out what I was doing with the binding.


Attach the binding by sewing along the edge to about 1/4" to the corner. Backstitch and remove the project from the machine. Fold the binding 45 degrees in the opposite direction you are about to turn, then fold it back.


Place the binding back under the foot and begin sewing along the new edge. once finished, fold the binding back over the seam and fold around the back.


Make sure the corners are nicely mitered on the back and sew the binding to the back. making them invisible is preferred.
My impatience may have gotten the better of me though... I didn't realize until I was done attaching the binding to the front that the instructions all wanted me to handstitch the binding to the back, to hide the stitches. I tried it for about an hour, and barely finished the top. I decided that the binding would look just fine if I sewed it with a border to the machine. I like the extra design it gave my quilt.

All in all, I learned the basics of quilting. I also realized I need to sew straighter lines, as mine pretty much suck. The seam ripper is definitely your friend while sewing. I want to learn to quilt so that I can turn my mom's old t-shirts into 3 quilts for my sisters and me. I think now I am not near as afraid to start working on them, at least first on my own quilt so that my sisters' quilts will be even better.
No comments:
Post a Comment